
Get ready for Halloween with our free scary pumpkin coloring pages! This collection of 29 printable PDFs is packed with grinning jack-o’-lanterns, creepy carved faces, haunted pumpkin patches and spooky characters. Some pages are easy and silly for little kids, while others have fine details for older kids and adults who love a challenge. Just download, print and grab your crayons, markers or colored pencils. Want even more seasonal fun? Browse our Halloween coloring pages after you finish your pumpkins.
Easy Scary Pumpkin Coloring Pages for Kids
Not every Halloween pumpkin needs to be terrifying. These easy pages have thick outlines, big open spaces and only a few details, so little hands can finish them without frustration. The “scary” is gentle: a toothy grin, a tiny bat or a friendly ghost. They are ideal for preschoolers and for kids who are just starting to color.

This coloring sheet features a classic Jack-o'-lantern with triangular eyes, a toothy smile, and a small leaf. A fun printable coloring page for kids to enjoy!

This coloring page features a fierce Jack-o'-lantern pumpkin wearing a tall Witch Hat with flying bats around. Great printable coloring page for kids to color!

This coloring sheet for kids features a scary Jack-o'-lantern pumpkin with three cute Bats flying before a full moon. Perfect printable coloring page to color!

This template features a creepy Spooky Pumpkin with sharp eyes, fangs, and curling leaf vines. A super fun printable coloring sheet for kids to color at home!

This printable coloring page features a cute Black Cat sitting atop a large spooky Jack-o'-lantern pumpkin under stars. Ideal coloring sheet for kids to color!

This template shows a happy Jack-o'-lantern pumpkin next to a friendly Ghost under starry skies. An easy printable coloring page for preschooler to color!
Jack-O’-Lantern Faces: Scary, Silly and Surprised
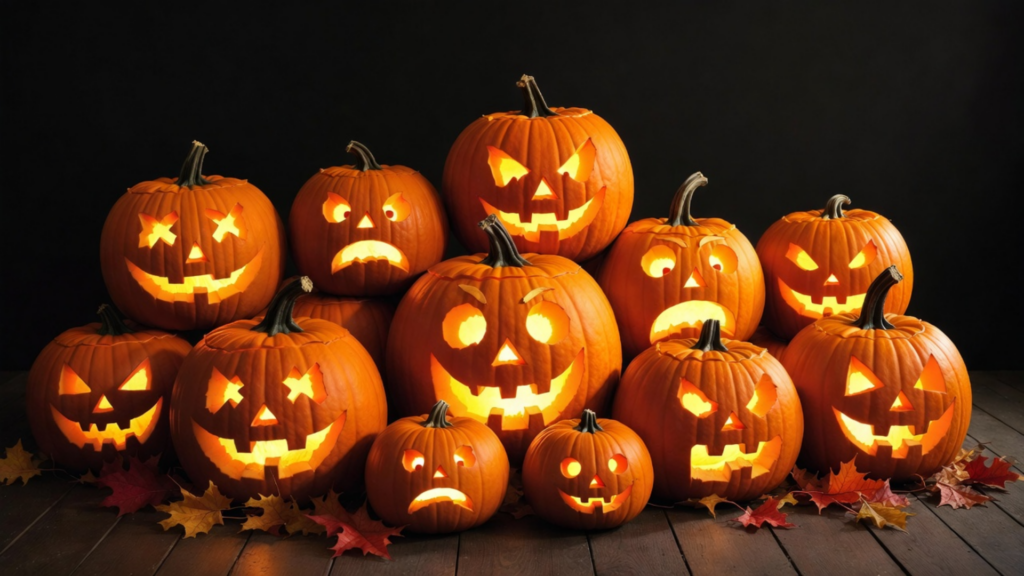
A jack-o’-lantern is all about its face. This set zooms in on the expression: scary, silly and surprised, so you can pick the mood that fits your Halloween. Kids love comparing the faces and choosing colors that match each feeling, like deep orange for scary or bright yellow for silly. They also make great ideas if you plan to carve a real pumpkin.

This scary coloring sheet features a classic Creepy Jack-o'-lantern with fierce angled eyes and sharp, jagged vampire teeth. A fun Halloween printable template for kids to color!

This spooky coloring sheet for kids depicts a cracked Flaming Jack-o'-lantern pumpkin with glowing fiery flames inside its eyes and mouth. An easy printable template to color!

This silly coloring page features a funny Silly Jack-o'-lantern pumpkin winking its eye and sticking out its tongue. A great Halloween coloring sheet for kids to color at home!

This cute coloring sheet for kids shows a Mustache Jack-o'-lantern wearing round eyeglasses and a stylish fancy mustache. A perfect pumpkin printable coloring page to color now!

This template features a shocked Surprised Jack-o'-lantern pumpkin with exclamation marks and leafy top. An expressive scary pumpkin printable coloring page for preschooler to color!

This fun coloring page for kids displays a frightened Scared Jack-o'-lantern pumpkin with big round eyes and a wide open mouth. A lovely Halloween coloring sheet to color!
Spooky Jack-O-Lantern Gallery
Start with the classics. You’ll find a grinning pumpkin on a stack of old books, one glowing under a haunted tree, a ghostly jack-o’-lantern and a pumpkin surrounded by autumn leaves. Each page has bold lines and plenty of open space, so they are easy for kids to color. Try warm oranges and yellows for the glow, and darker colors for the background.

A traditional carved pumpkin with a scary face resting on a stack of old books, ready for a spooky night.

A creepy bare tree under a crescent moon with a smiling carved pumpkin at its base.

A classic carved pumpkin with a spooky ghost-like flowing bottom and an evil grin.

A detailed jack-o'-lantern surrounded by falling autumn leaves and swirling vines.
Creepy Detailed Pumpkin Designs
If you like a little more challenge, these pumpkins are for you. Look for a spider crawling over its web, a horned pumpkin with crossbones, a toothy monster face and a swirling pattern. The fine lines work best with colored pencils and gel pens. Take your time and add shading to make the details pop. For more detailed art, try our skeleton coloring pages too.

A carved pumpkin hanging with a big spider and web above it, creating a creepy scene.

A fierce-looking jack-o'-lantern with horns and crossbones underneath for extra Halloween danger.

A wild and scary pumpkin monster with big teeth and an angry expression.

A fun pumpkin with swirling decorative lines and a playful carved face.
Haunted Pumpkin Patch Collection
Here the pumpkins fill whole night scenes. A patch sits in front of a haunted house, a snowy Halloween village glows in the dark, bats swirl overhead and ghosts float between the pumpkins. Use deep purple or midnight blue for the sky so the orange pumpkins stand out. These scenes are great for kids who like to tell a story while they color.

A festive group of pumpkins in front of a spooky haunted castle under the moonlight.

A charming winter Halloween scene with a snowy village, pumpkins, and a big haunted house.

A group of happy and scary pumpkins surrounded by flying bats.

Cute pumpkins with friendly ghosts floating around in a fun Halloween night scene.
Scary Pumpkins with Halloween Characters
Meet pumpkins with a Halloween twist: one rides a broomstick, one pops out of a coffin with a ghost, one is a classic smiling jack-o’-lantern and one dances under a flash of lightning. They are more silly than scary, so younger kids can enjoy them without any nightmares. For even friendlier characters, see our friendly monster coloring pages.

A smiling jack-o'-lantern wearing a witch hat and riding a broomstick.

A playful pumpkin ghost popping out of a coffin for a funny Halloween twist.

A classic round jack-o'-lantern with a big friendly carved smile.

A funny anthropomorphic pumpkin with legs and arms dancing under stormy lightning clouds.
Pumpkin in Disguise: Can You Guess Who It Is?
It’s Halloween night, and a little pumpkin is getting ready for a costume party! One by one, the pumpkin will disguise itself as a mystery character, but it refuses to tell you who it is. Look closely at each picture, read the pumpkin’s little hints, and guess which character it is pretending to be. When you’re ready, flip to the last picture to see if you guessed right. There are 5 disguises in all, from easy to tricky. Are you ready to play?
Symmetry Drawing Challenge
If you fold a leaf in half or stand in front of a mirror, you will notice that both sides match each other in every detail. This is called symmetry, and the line that divides the two sides is called the line of symmetry. Practicing symmetry drawing helps children develop observation skills, become familiar with geometry, and improve pencil control, all while having fun. Today, Crayonas’ little pumpkin wearing a witch’s hat has a rather funny problem: only its left half remains, including half of its pointy hat, one eye, and half of its smile. Look carefully at the remaining half, then use a pencil to draw the right half so that it matches the left side exactly. Once you finish, color both sides in the same way to bring the little pumpkin back to its complete shape. Are you ready?

Half of this witch pumpkin is missing! Look closely at the left side, then draw the right half so both sides match. Color the whole pumpkin the same on both sides.
Where Did Jack-O’-Lanterns Come From?
Every Halloween night, carved pumpkins light up porches and doorsteps. But do you know where Jack-O’-Lanterns came from? Their story began a long, long time ago in Ireland.
According to legend, there once lived a man named Jack who was famous for being stingy and cunning. Jack tricked the Devil more than once. When Jack died, Heaven refused to welcome him because he had been too deceitful, while the Devil was afraid to take him in, fearing that Jack would trick him again. As a result, Jack was left to wander in the darkness forever. The Devil tossed him a glowing ember to light his way, and Jack placed it inside a hollowed-out turnip to make a lantern. From then on, people called him “Jack of the Lantern,” which was eventually shortened to Jack-O’-Lantern. In Ireland and Scotland, people traditionally carved scary faces into turnips in late autumn and placed candles inside them, believing that the light would scare away wandering spirits. When people emigrated to America, they discovered that pumpkins were plentiful there. Pumpkins were larger, softer, and much easier to carve than turnips, so they gradually replaced them. And that is how we came to have the Jack-O’-Lanterns we know today.
Now, as you color the pumpkins in this collection, remember that behind every smile or spooky expression lies an old story waiting to be told!
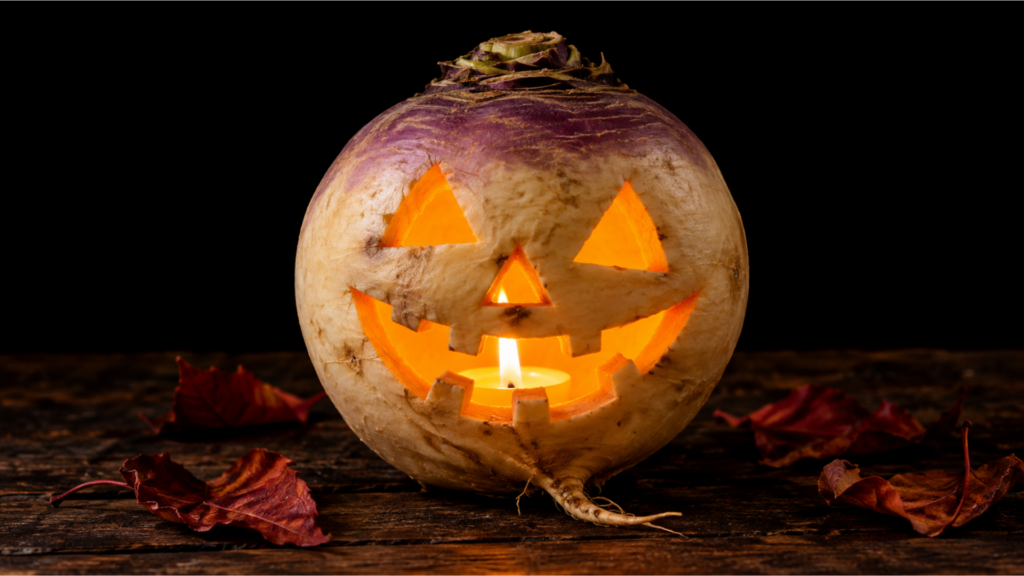
How to Carve a Pumpkin: Easy, Safe and Beautiful
After finishing your coloring page, would you like to turn the pumpkin on paper into a real lantern? Pumpkin carving is a fun activity, but carving knives can cause injuries, so remember the most important rule: adults handle the knives, while children help with safe tasks such as drawing, scooping out the insides, and decorating.
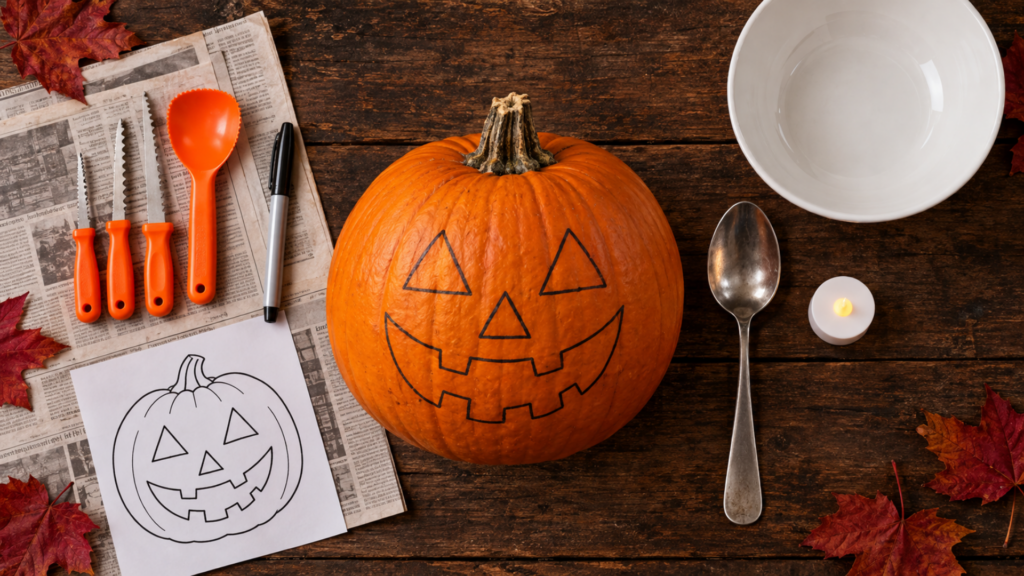
Materials You’ll Need:
- A firm pumpkin with a flat bottom and no soft or bruised spots.
- A marker or felt-tip pen for drawing the design.
- A small pumpkin carving kit with serrated tools (safer than a large kitchen knife).
- A large spoon or pumpkin scoop.
- Newspaper to cover the table and a large bowl for the pumpkin pulp and seeds.
- An LED candle.
Step-by-Step Instructions:
- Choose a Design: Print a pumpkin coloring page with a simple design from this collection. Choose a pattern with large eyes, a nose, and a mouth, and avoid tiny details, as thin sections can easily break during carving.
- Cut the Lid (Adults Only): Cut a circle around the stem at an inward angle so the lid will not fall into the pumpkin. Make a small notch as well to help you put the lid back in the correct position.
- Scoop Out the Insides (Children Can Help): Use a spoon to remove all the pulp and seeds. Leave the pumpkin wall about 2–3 cm thick in the areas you plan to carve to make cutting easier.
- Transfer the Design onto the Pumpkin: Tape the printed design onto the pumpkin skin. Use a pin or toothpick to make small holes along the outlines (adults only). Remove the paper, then connect the dots with a marker.
- Carve the Design (Adults Only): Start cutting from the center and work outward, removing small sections one at a time. Hold the carving tool firmly and cut slowly without applying too much pressure.
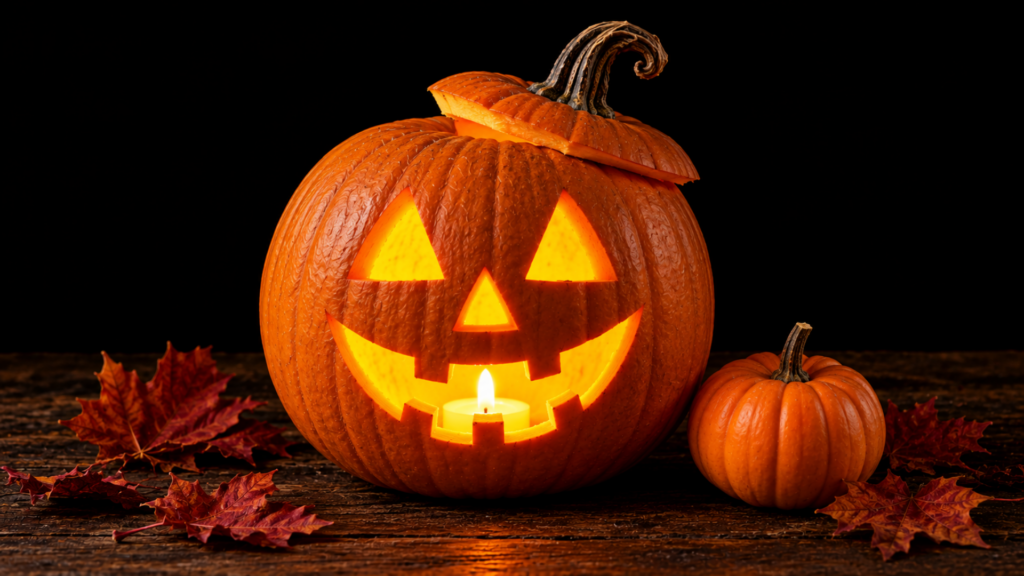
- Finish Your Pumpkin: Gently push the cut pieces outward. Apply a thin layer of petroleum jelly to the cut edges to help prevent the pumpkin from drying out, then place an LED light inside.
5 Pumpkin Craft Ideas Using Colored Pumpkin Pages
Once you’ve finished coloring, don’t rush to put your artwork away in a drawer! With just paper, scissors, and glue, the pumpkins on your coloring pages can become decorations and toys for the whole family. Let’s try these five creative ideas!
1.Paper Pumpkin Lantern
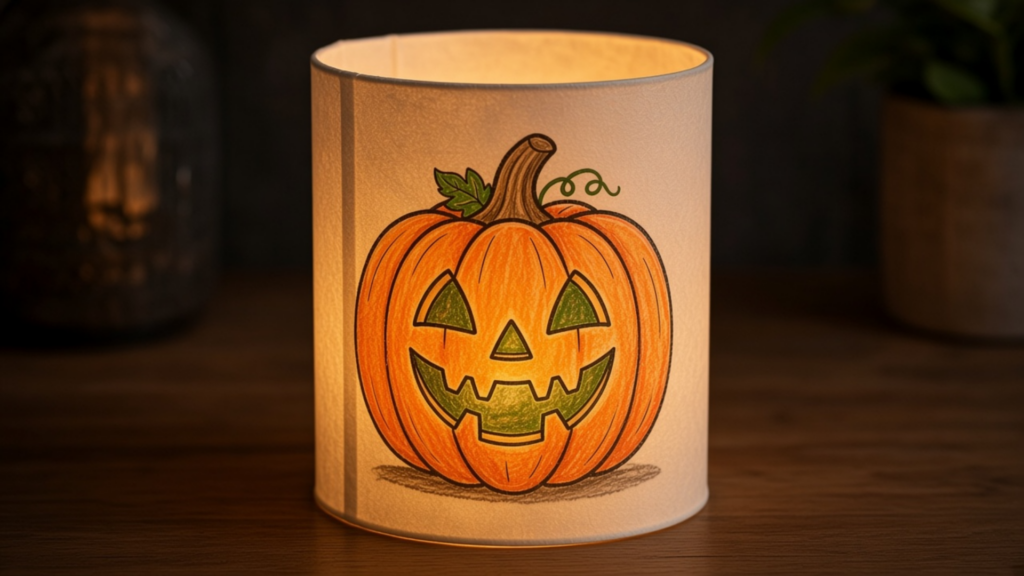
Print a pumpkin coloring page on thin paper, color it, then roll it into a cylinder and glue the edges together. Add a layer of tracing paper or thin yellow paper inside to create a beautiful glowing effect. Place an LED candle inside, and remember to use an LED light instead of a real candle for safety. When night falls, you’ll have your very own handmade pumpkin lantern!
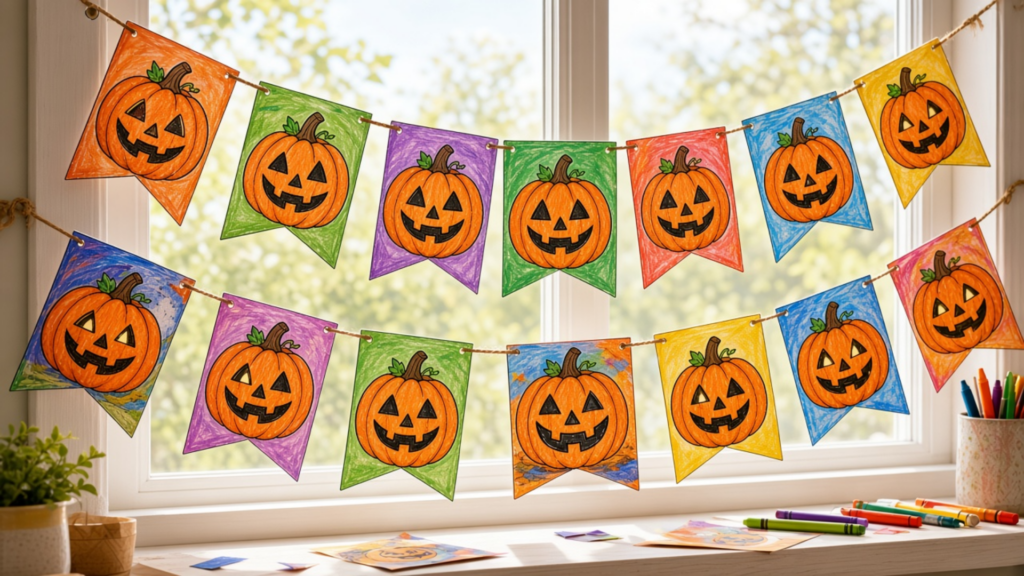
2.Pumpkin Garland
Cut your colored pictures into triangular flags or circles, punch two small holes near the top of each piece, and thread a string through them. Hang your garland by a window or in a classroom corner to instantly create a Halloween atmosphere. Each child in the class can color one flag, then put them all together to make a meaningful group decoration.
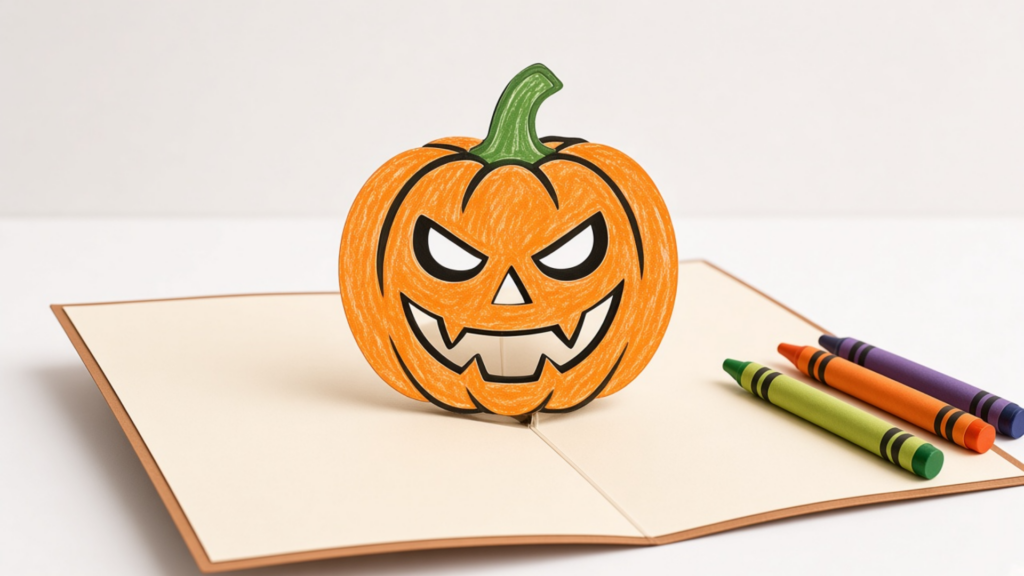
3.Pop-up Pumpkin Card
Fold a piece of cardstock in half, cut two parallel slits in the middle of the fold, and push the section between them forward to create a pop-up tab. Then glue a colored pumpkin that you have cut out onto the raised section. When the card opens, the pumpkin will pop out in front of the recipient! Children can write Halloween wishes inside the card to give to friends and family.
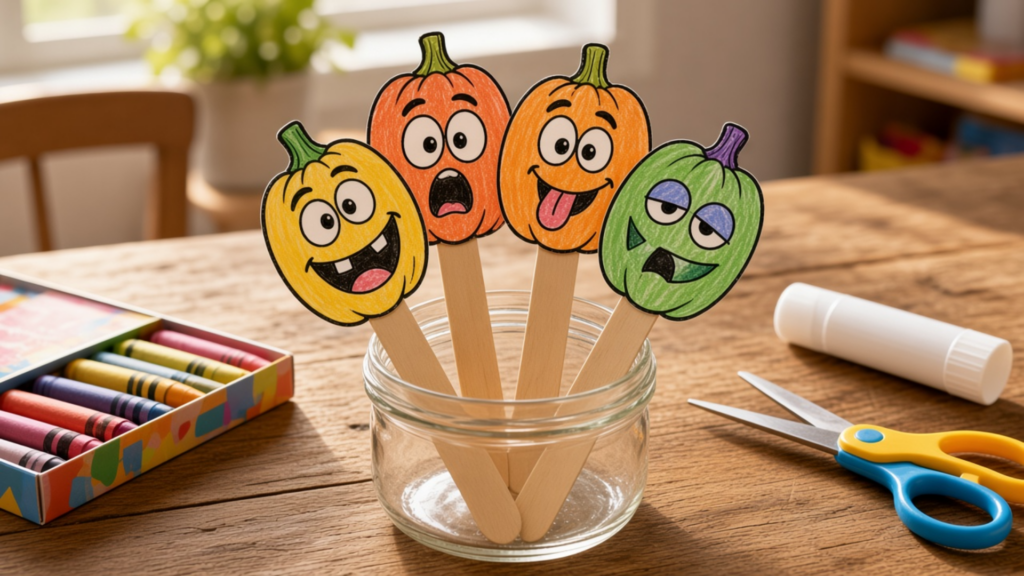
4.Pumpkin Stick Puppets
Cut out the colored pumpkin faces and glue them onto popsicle sticks or drinking straws. In just a few minutes, children will have a whole team of pumpkins ready to “talk”! They can give each pumpkin a name and put on a little play, perhaps retelling the legend of Stingy Jack using their very own pumpkin characters.
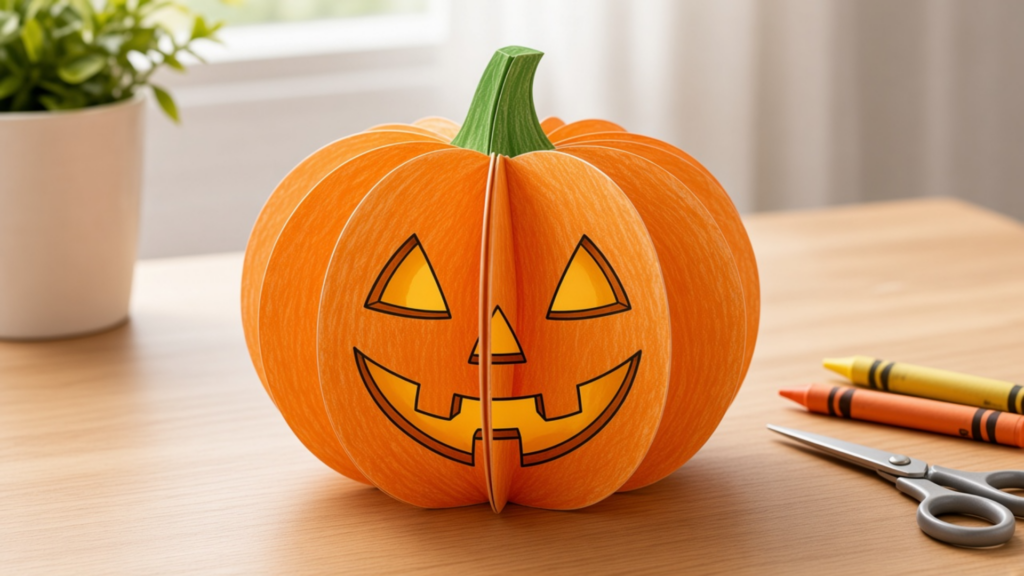
5.3D Paper Pumpkin
Cut six identical circles from your colored pages and fold each circle in half. Glue the backs of the folded halves together in a circular arrangement around a central axis to create a rounded pumpkin shape. Add a small green paper stem at the top. This 3D paper pumpkin can stand on a desk and makes a lovely decoration!