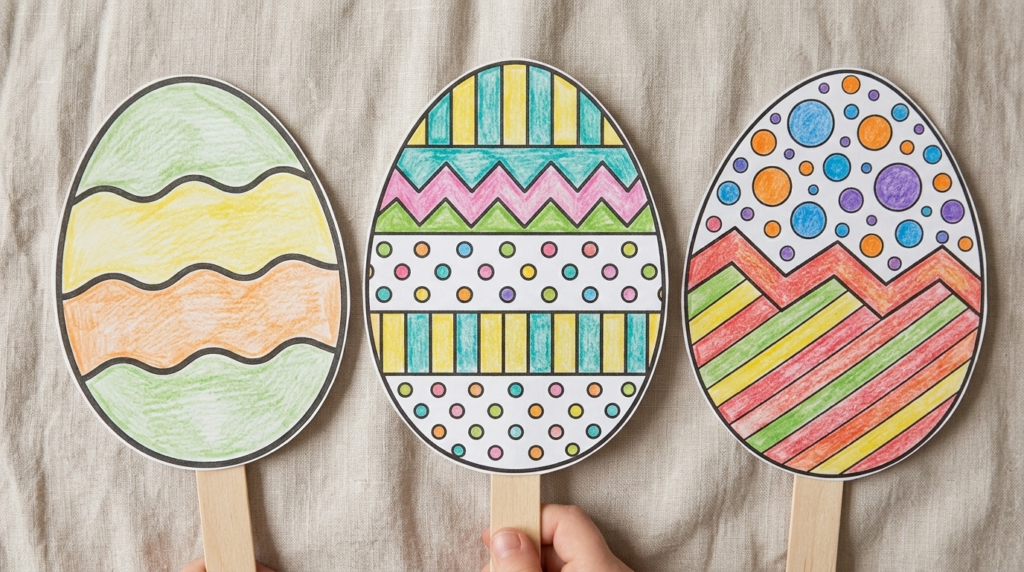

Welcome to our collection of creative Easter egg activities made just for kids. On this page, you’ll find a treasure trove of 16 Easter egg coloring pages designed from easy to challenging, along with skill-building worksheets and fun craft ideas. All materials are completely free and formatted for standard A4 paper, so parents just need to download and print, and kids can start a colorful play-and-learn session.
Cute Easter Egg Coloring Pages
This theme is mainly for preschoolers, elementary students, or anyone who loves playful chibi or kawaii cartoon styles. To make the picture stand out and match its sweet spirit, parents can guide kids to choose soft pastel tones such as pastel pink, mint green, or lemon yellow.

A Chibi egg wearing a top hat, smiling brightly amid a scene dotted with twinkling stars.

An egg in a bunny costume perking up its playful long ears, surrounded by fluffy clouds floating by.

A fairy egg house with wooden windows, puffing heart-shaped smoke in the middle of a miniature fairytale forest.

A chubby baby dinosaur peeking out of a half-cracked eggshell, winking and waving hello on a peaceful spring meadow.
Simple Easter Egg Coloring Pages
Simple egg coloring pages are especially ideal for toddlers aged 2 to 3, or kids just getting used to holding a crayon. Thanks to the thick outlines and large open areas, kids can freely use jumbo crayons, wide watercolor brushes, or even press fingerprints onto the paper. This process not only helps kids recognize basic colors, but also naturally trains their grip and teaches them to color without going outside the lines.

A giant egg with bold horizontal bands standing neatly upright on an empty, easy-to-color surface.

An egg with a bold wavy pattern lying quietly in the center of a pure white page.

An egg with a giant heart motif shining brightly at the center of the picture, with no extra details.

An egg with big round polka dots standing out in a simple black-outlined space.

Bold Easter egg with wavy zigzag pattern and thick lines for toddlers.

Easy Easter egg with a big star in the center, great for little hands.

Large and easy Easter egg with thick bold lines, perfect for toddlers and preschoolers. 2.png

Cute Easter egg with big polka dots and thick outlines, ideal for beginner coloring.
Easter Eggs with Bunnies and Flowers
Pictures of an egg peeking out beside a bunny and flowers are usually a little harder, because kids must observe and tell apart several subjects in the same frame. This is a great opportunity for parents to sit beside their child and show them how to color bunny fur so it looks soft, or how to choose bright shades so spring flowers like tulips and daisies come alive on the page.

A soft Easter bunny wrapping its arms around a beautifully patterned egg in a garden of blooming tulips and daisies.

A soft Easter bunny wrapping its arms around a beautifully patterned egg in a garden of blooming tulips and daisies.

Beautiful floral wreath surrounding Easter eggs, festive spring design.

Easter egg covered in beautiful roses and flowers, elegant spring design.
Easter Egg Baskets and Scenes
Because of their wide settings and many details, egg basket and nature scene pictures take longer to finish, making them an ideal activity for the whole family to gather and color together on the weekend. Coloring a scene also helps kids develop spatial thinking as they learn about perspective. They learn that objects up front should be colored darker and clearer, while objects peeking out in the distance can be colored lighter, forming an overall view of the whole picture.

A wicker basket tied with a ribbon bow, filled to the brim with patterned Easter eggs, resting on grass with a few cozy strands of straw as lining.

Easter eggs peeking out from behind tall grass and an old tree trunk in a garden full of sunshine and fluffy clouds.

Big festive Easter basket filled with eggs and a decorative bow.

Classic wicker Easter basket overflowing with decorated eggs and a big bow.

Cheerful Easter egg hunt scene with basket, flowers and sunny sky.

Happy girl carrying an Easter basket in a beautiful spring garden.
Blank Easter Egg Coloring Pages
The blank egg template isn’t only for coloring in solid colors. It also serves as a versatile template for kids to freely draw their favorite patterns or cartoon characters inside. It is a perfect base for creative craft activities too, where kids can tear paper and layer it on, sprinkle glitter, sew on buttons, glue on grains, or attach colorful yarn. This method sparks a soaring imagination and lets kids create a one-of-a-kind design of their own instead of being limited by pre-drawn lines.

A giant blank egg filling the whole space right at the center of the page.

A family of three blank eggs standing side by side and slightly overlapping in a wide, open space.
Patterned Easter Eggs: Stripes, Chevrons, and Polka Dots
If you love classic designs, this section is for you. We provide a wide variety of geometric shapes, zig zag patterns, and abstract coloring opportunities. These pages are fantastic for teaching children about symmetry and the rhythm of alternating colors while they fill in chevrons and dots.
Check out these classic patterned eggs that offer endless color combinations.

Bold chevron and zigzag pattern Easter egg, great for pattern lovers.

Beautiful diamond and grid patterned Easter egg for detailed coloring.

Easter egg covered in cute hearts, perfect patterned design.

Classic polka dots and stripes Easter egg design for fun coloring.
Safe Scissor Skills Worksheets
These are printable worksheets with lines that go from easy to hard, including straight lines, zigzags, curves, circles, and even cutting out a whole egg shape. For safety, parents should give kids a pair of round-tip scissors and show them how to put the thumb in the small hole and the middle finger in the large hole, while the other hand holds and turns the paper flexibly. Kids start with short cuts and gradually move to harder ones, then can color the pieces and glue them back together into a new creation. This activity plays an important role in developing the small muscles in the hands and fingers, building a solid foundation for learning to write later on. It also trains smooth hand-eye coordination, builds patience, and helps kids feel more confident. Parents, please always sit beside your child and supervise while they use scissors.

Cutting along straight, zigzag, curved lines and fun shapes helps kids build hand strength, dexterity, and patience, getting them ready for holding a pencil later on.
Color Matching for Kids
This worksheet helps kids learn to recognize colors by connecting, coloring, or matching objects with their correct colors, for example drawing a line to connect a red egg with the matching red area. The game not only helps kids remember the names of colors, but also effectively trains observation, comparison, and sorting. Through logical matching, kids expand their vocabulary as they name objects. In addition, drawing connecting lines back and forth is also a great way for kids to practice pencil control.

Matching or pasting pictures into the right color boxes helps kids recognize colors, sharpen observation and sorting skills, and grow their vocabulary.
5 Ways to Recycle Coloring Pages into Crafts
Once your child has finished the coloring pages, don’t put them away. Turn them into beautiful crafts with the five simple methods below. Tip: if the pages are printed on thin regular paper, glue them onto thin cardboard before cutting so the finished craft is sturdier and lasts longer.
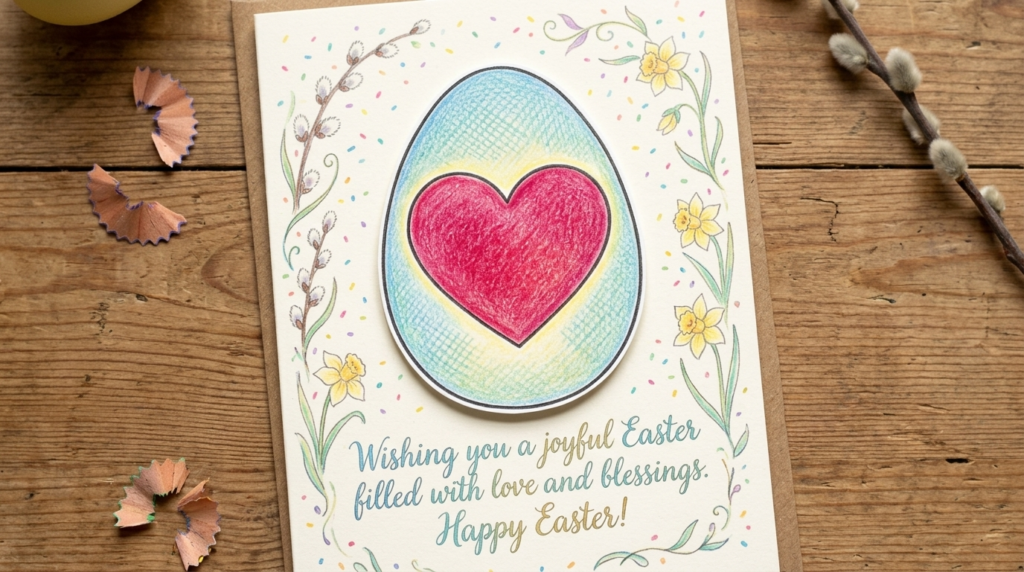
Greeting Cards
Materials: colored egg pages, a sheet of colored cardstock or heavy paper, round-tip scissors, glue stick, and markers or crayons.
- Your child cuts the egg out along its outline. Parents should cut small or narrow parts and let the child cut the outer edge.
- Fold the cardstock in half to make the card, pressing the fold with a ruler or the edge of a spoon for a crisp finish.
- Spread a thin, even layer of glue on the back of the egg, press it onto the front of the card, and hold for a few seconds.
- Open the card and let your child write or draw a message inside, such as “Happy Easter, Grandma and Grandpa!” If they can’t write yet, lightly pencil the words so they can trace over them.
To make the card extra special, add stickers, glitter dots, or fingerprint flowers around the egg. These cards are perfect for grandparents, teachers, or friends.
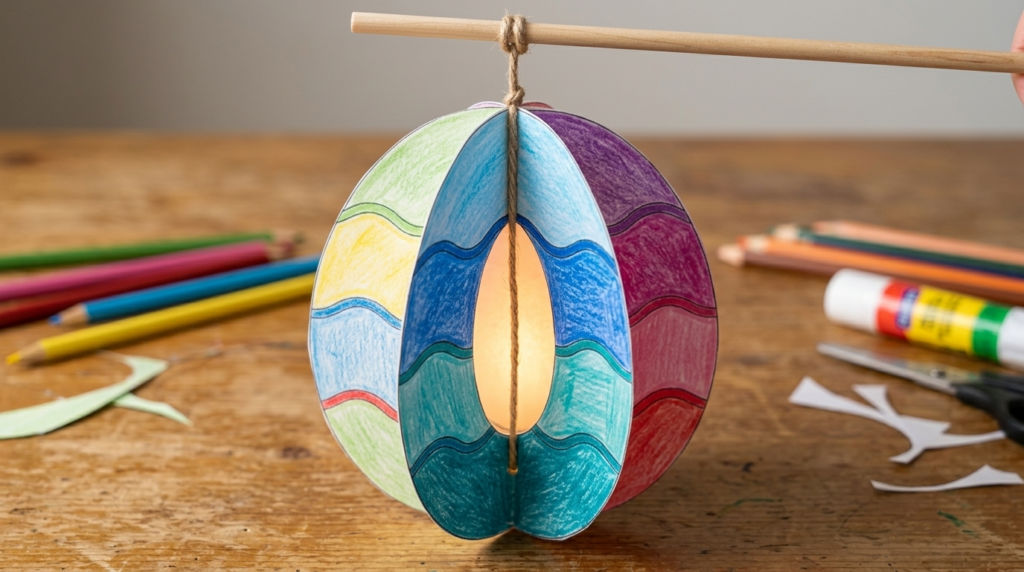
3D Kirigami Paper Ball
Materials: about 6 to 8 colored pages (or sections) suitable for cutting circles, scissors, pencil, a cup or jar lid for tracing circles, glue, and a piece of string or thread.
- Use a cup or jar lid as a template, trace lightly with a pencil, and cut 6 to 8 circles of the same size from the colored pages. Choosing the most colorful parts gives the best result.
- Fold each circle in half with the colored side facing out, crease lightly, and stack them on top of each other.
- Spread glue on one half of the outside of the first circle and attach it to one half of the second circle. Repeat until the last circle.
- Before gluing the last circle, place the string in the middle and tie a knot at the end so it won’t slip when hung.
- Glue the remaining half of the first circle to the unglued half of the last circle, and the folds will fan out into a hollow ball.
Let the glue dry completely, then hang it from a window or ceiling like a little paper lantern.
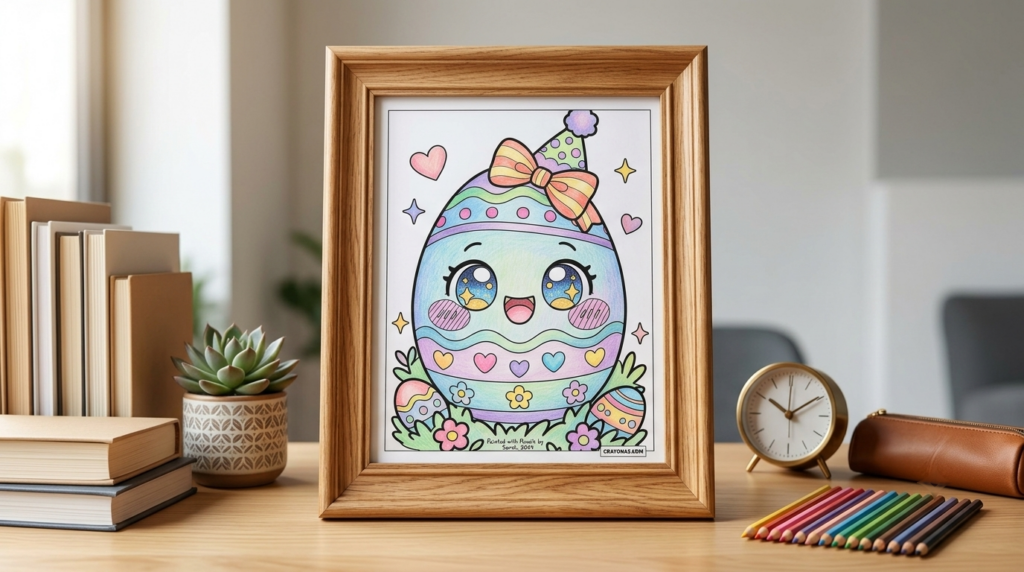
Decorative Frame for the Study Corner
Materials: your child’s favorite coloring page, a wooden or tabletop photo frame, colored paper, scissors, and double-sided tape or glue.
- Choose the picture your child is proudest of together. Don’t pick too many so the artwork stands out.
- Measure the frame opening and cut the picture to fit exactly, or leave about 0.5 cm extra on each side to hide the edges.
- For a fancier look, cut a sheet of colored paper into a small border and place it behind the picture to create a mat effect.
- Put the picture in the frame, close the back, and check that it sits straight.
Your child can also decorate the wooden frame with paper flowers, beads, or patterns drawn with paint markers. Place it on the desk and swap in a new picture each month so your child always feels their work is valued.
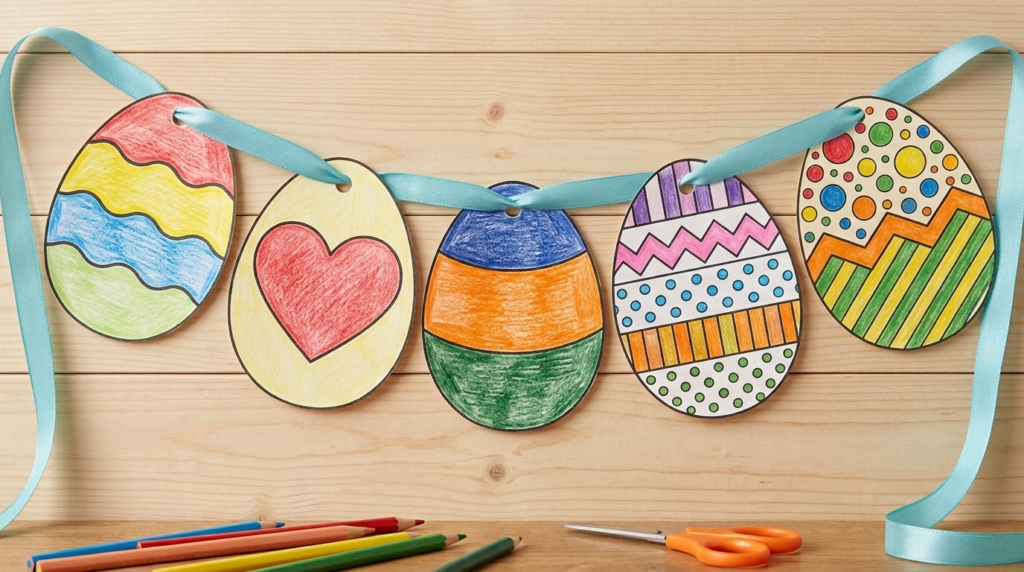
Festive Bunting
Materials: many colored eggs, scissors, a hole punch or needle, yarn or twine about 2 to 3 meters long, and tape.
- Cut the eggs out of the paper, trying to keep them about the same size so the bunting looks tidy.
- Punch two small holes at the top of each egg, about 1 cm from the edge so the paper doesn’t tear. If you don’t have a hole punch, fold the top edge back about 1.5 cm, apply glue, and fold it over the string instead.
- Thread the string through the holes in an “up and down” pattern, or glue each egg onto the string.
- Leave about 5 to 8 cm between eggs so the bunting looks airy, and leave both ends of the string long enough to tie or tape to the wall.
Your child can choose the color order, for example alternating striped, polka dot, and plain eggs. The bunting looks great along a wall, around a window, or above the dining table during the holiday.
Storytelling Stick Puppets
Materials: colored eggs, wooden craft sticks (one per character), glue or tape, a small piece of cardboard, and a black marker.
- Your child cuts out the colored eggs along their outlines.
- Parents cut a piece of cardboard shaped like the egg but slightly smaller to use as a backing, which keeps the puppet upright and firm.
- Glue the egg onto the cardboard, then glue a craft stick to the middle of the back, leaving about 10 cm of stick for your child to hold.
- Press firmly and let the glue dry for about 10 to 15 minutes.
- Use a black marker to draw eyes, a nose, a smiling mouth, or simple arms and legs so the egg becomes a character.
Each egg can have its own personality, such as a shy egg, a mischievous egg, or an egg that loves to sing. For the performance, set up a small stage from a cardboard box with a window cut out, and act out a play called “The Eggs Search for Mama Hen.” This activity helps children create their own stories, practice speaking, and gain confidence performing for the family.